The following show a few before and after in addition to work in progress images that we hope demonstrate the extent of major repairs that can be done without actually performing what is considered a complete overhaul.
How a straight forward project can lead to one problem after another.
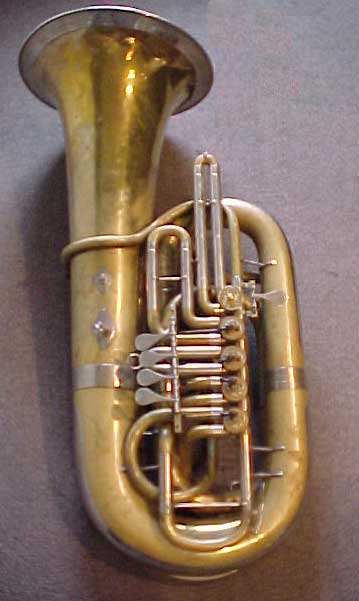
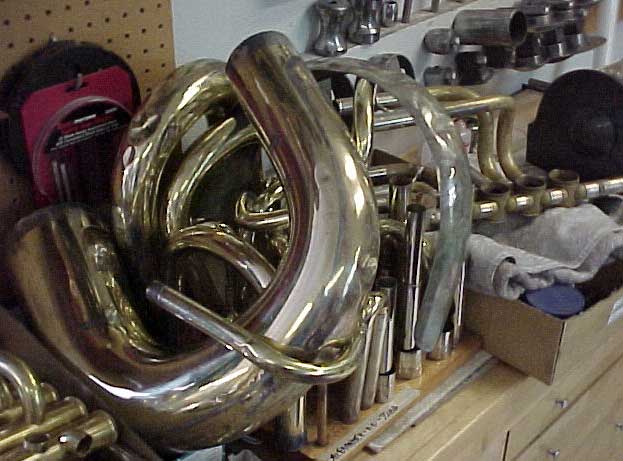
Here is seen an Alexander CC tuba sent to us originally to have its badly altered valve linkages corrected. In addition to the poorly executed alterations it also was well worn from many years of use. Unfortunately the company responsible for packing and shipping the tuba did not do as good a job as hoped resulting in serious damage to the bell and wreath. Because of this damage, our focus on correcting the linkage and valve action had to be broadened to include the needed repairs to the bell and other issues soon to be discovered.
This sort of project is what Dan and the owner of the tuba had hoped to avoid as the repair of the bell meant removing it and the mouth pipe to allow for the removal of the wreath from the flair. As was feared, with the removal of the mouth pipe and bell came the discovery of many loose and broken solder joints. Such problems can not be ignored. We wound up removing the bottom and top bows and then removed the loose inside branches facilitating the cleanup and preparation of the areas to be resoldered.
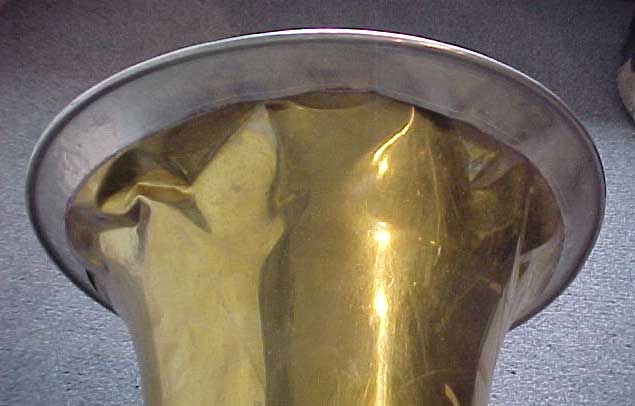
With the large bows removed from the whole of the instrument, the guard moldings or bow caps were found to be quite loose. They were also found to have much more damage then originally expected. The top bow was far worse having discovered a hole that had been patched. In addition the top guard only reached the middle of the top of the bow adding little or no protection to where the players left forearm rested while adjusting the first slide while playing. This resulted in considerable acid attack to the brass where it had thinned it to the point of collapse under the weight of the players arm. Small holes were discovered at the thinnest points. Again, more stuff that has to be corrected.
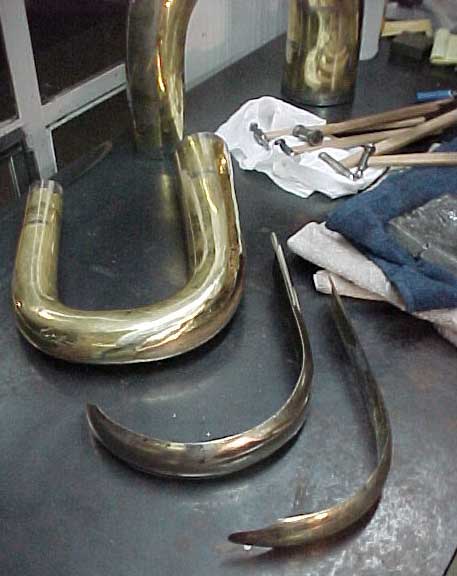
The major and not so major dents in the bows were removed, holes silver brazed and a new nickel-silver top-bow cap fabricated that this time reached all the way across the top bow where it could reinforce and protect the previously worn and damaged area.
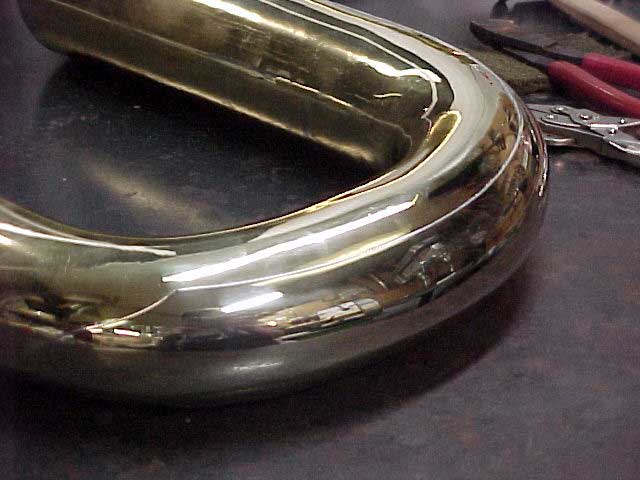
The bottom bow cap was reshaped and mounted to the bottom bow once all the major dents were removed. The keel was then re-soldered into its proper location.
The inside branches were cleaned and lightly polished. Dents were softened if not removed completely. Some replacement braces were made to match the originals as was a pull ring for the fifth valve tuning slide and ring for the strap flange on the backside of the bell that had been broken off and lost long ago.
One more big problem was the fifth valve and the mouthpipe. The valve was installed later and was not done really well. Dan cleaned it up and made the needed corrections including new matching linkage. The original mouthpipe had holes in it and was made with a receiver that took the larger shank mouthpieces. Dan fabricated (by hand) a new pipe that was the proper size and shap but altere the receiver dimensions so it accepted the more standard size mouthpiece used today. The pipe is constructed in such a way that one can not tell it is not original.
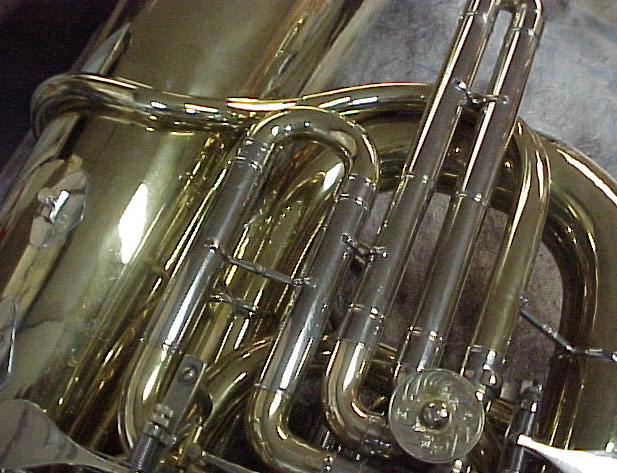
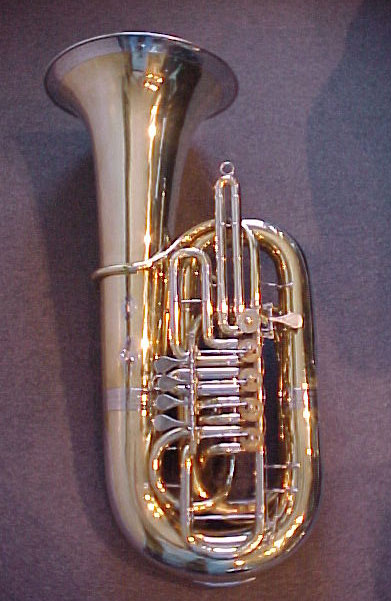
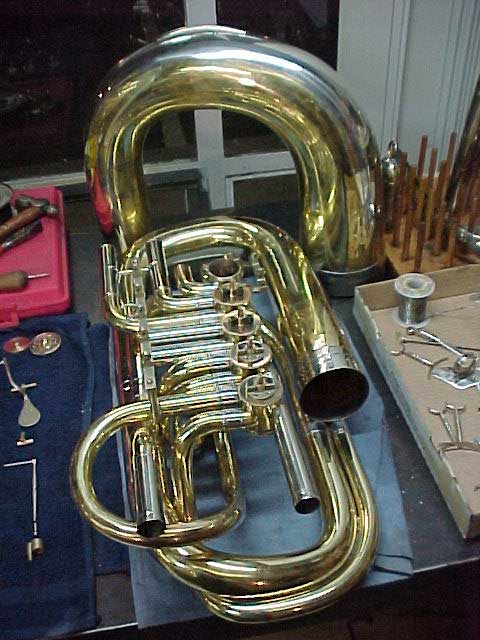
Eventually the body of the horn was polished and assembled and because it looked as nice as it did, we chose to dedent and repair all the tuning slides to match the condition of the rest of the tuba. Prior to assembly the rotor bearings were refittied with the rotors, its just more easy to do while the instrument is broken down.
Now that the body of the horn is corrected and the rotors are at there best, the original planned project can start!
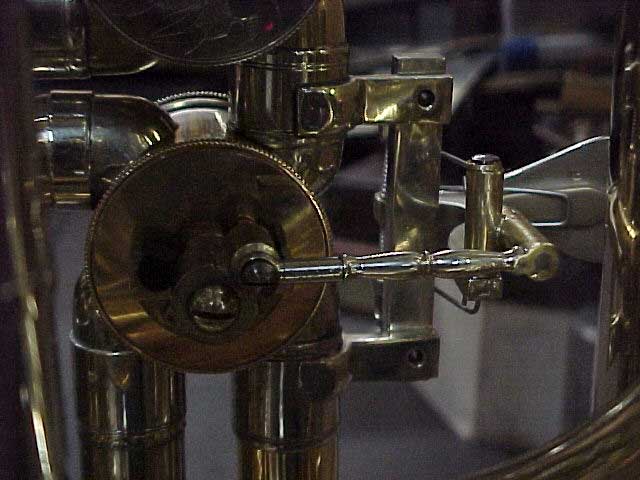
The above image shows the linkage as it was on arrival to our shop. The old linkage had gotten loose and noisey so someone thought using parts from there local hobby shop were adiquate. They held up okay but look bad and tend to be a bit noisey as well. I think we can do better.
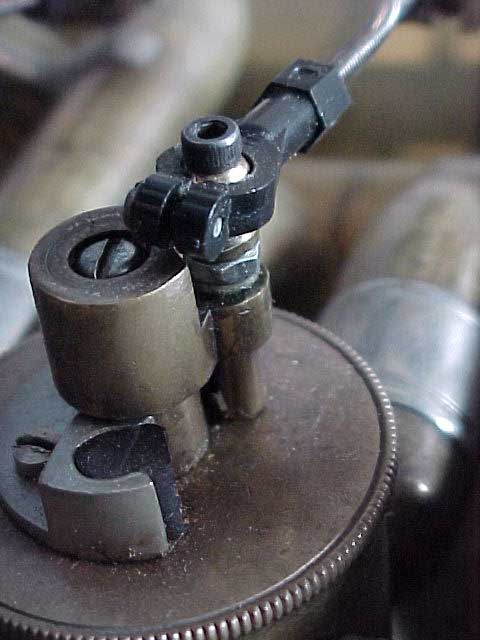
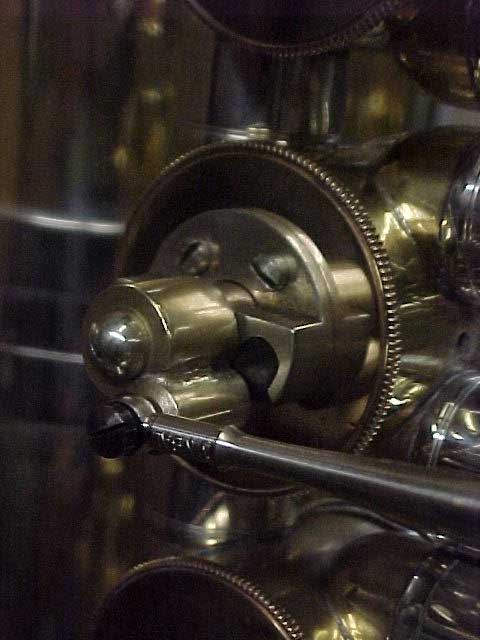
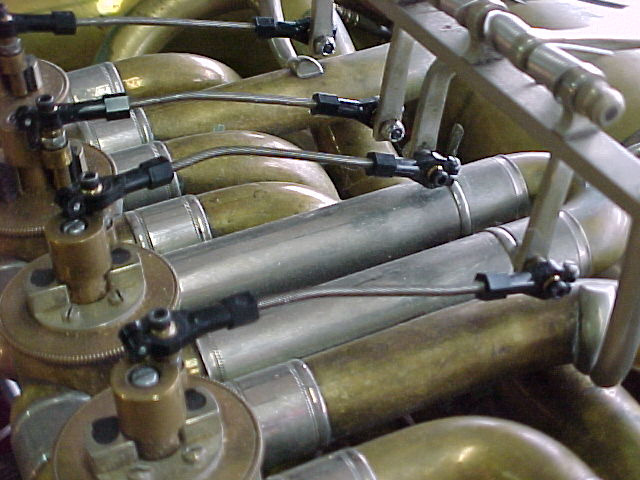
The stop arms were originally altered using a hacksaw and a file. Employing "allen head" bolts, washers and lock-nuts for the plastic connectors and steel threded rod a functional linkage was cheaply constructed. It works but on such a fine hand made instrument it looks rather shabby. The image to the right shows the same part after converting to a mini-ball link with nickel-silver connecting rod.
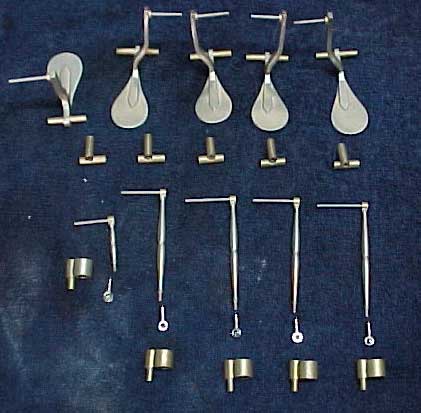
Restoring the rest of the linkage required considderable time as there was a lot of small parts to machine and fashon into shape. The double hinges, pins and bearing cheeks along with numerous brass bearing rings had to be indavidually fitted and then the pins were rivited.
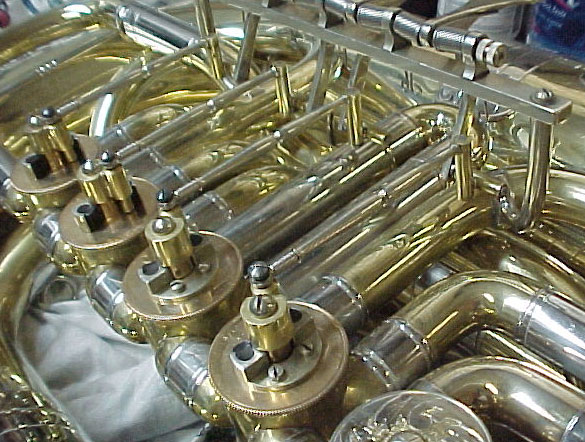
In the end the valve linkage looks and works like a tuba of this quality should; smooth, quite and quick.
This kind of work is difficult and not all instruments require so much detailed effort. But if it does, its good to know options exist.
We hope you found this page interesting if not educational. If you have any questions or comments, please feel free to contact Dan Oberloh at Oberloh Woodwind and Brass Works.