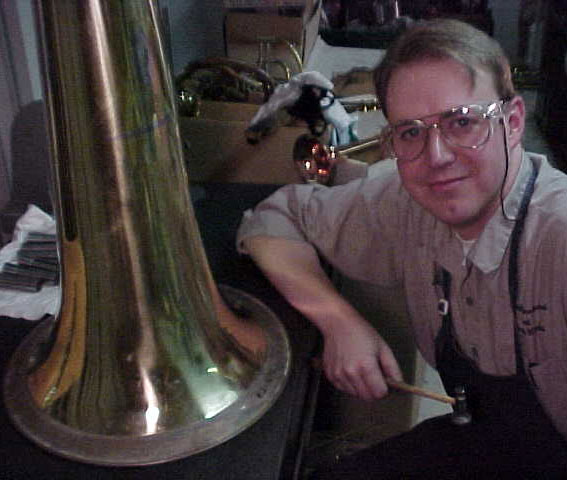
Tuba Overhaul
Step #3
Wreath Installation
Because of the stretching caused by the damage and the
reforming of the bell, the rim may have added as much as a half inch
to its diameter. This being the case, the bell must be trimmed to allow
the new wreath to fit correctly. Careful, you don't want to remove too
much.
Before the wreath is pulled into place, the back of the wreath is cleaned and sanded on the innermost edge. You will find out why later.
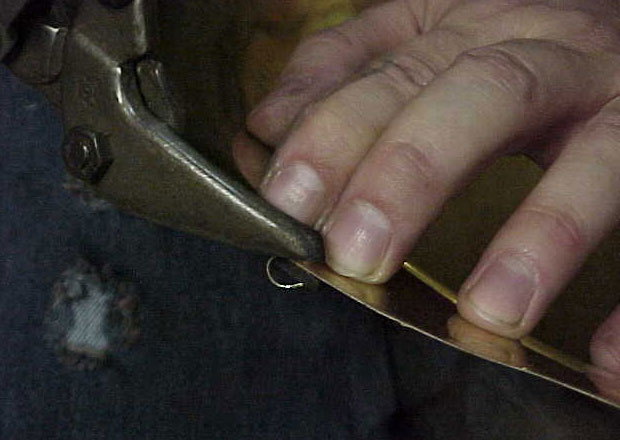
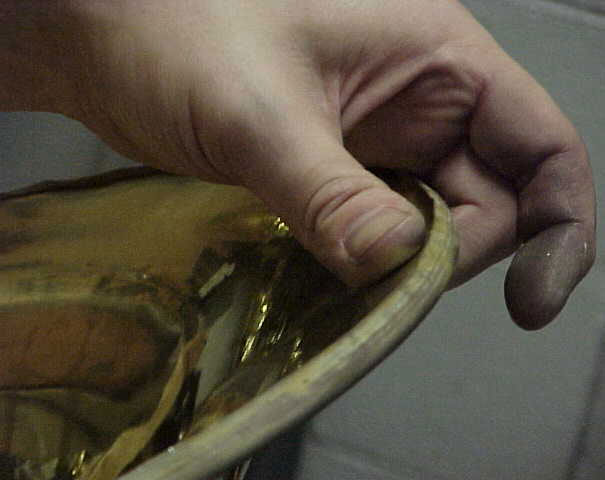
The new wreath is pulled on and checked for proper fit
prior to installation. Not seen is the coppered wire that is inside the
edge of the wreath.
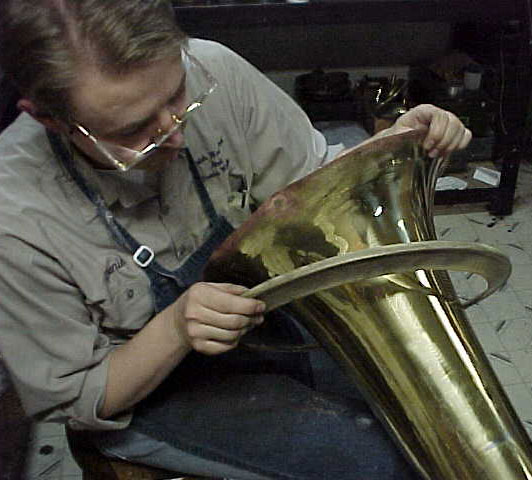
Satisfied with the fit, we slowly pull the outside rim
in over the edge of the bell. This is done with a steel hammer of appropriate
weight. Starting at 12 o'clock then 4, 8, 2, 10 and so on.
As you can see, the edge is brought in evenly. Care must be taken to not allow the metal to bunch up or overlap. The wire must be constantly adjusted to see that it does not drift out of its slot in the rim.
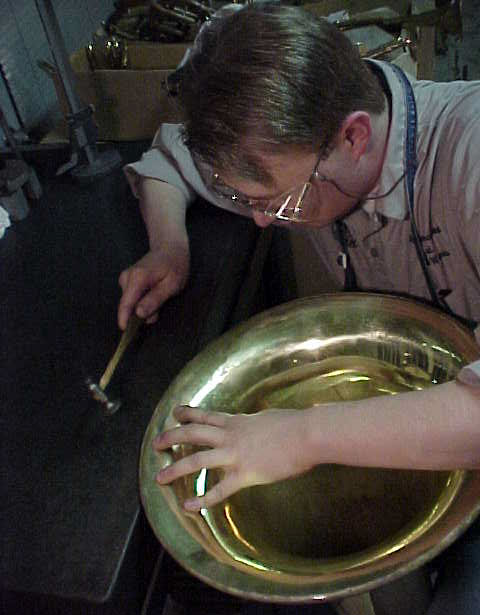
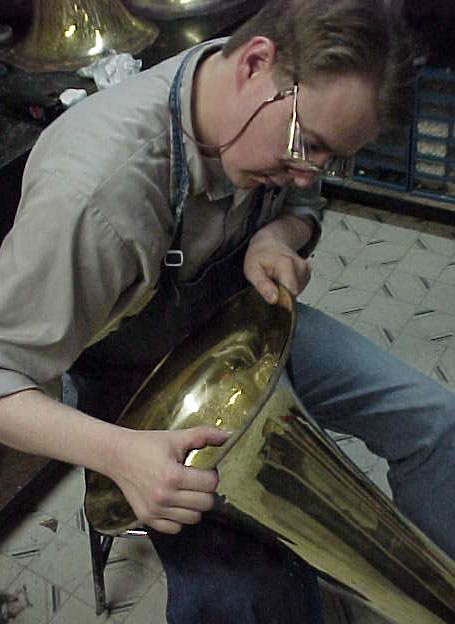
I use a large granite leveling stone to support the rim and make it solid. This minimizes vibration in the bell and makes every blow with the hammer more uniform. It also allows for greater control as the edge of the wreath is tightened down over the rim of the bell. Be careful to not slip or you will have a dent inside the bell under the wreath where you cannot get at it.
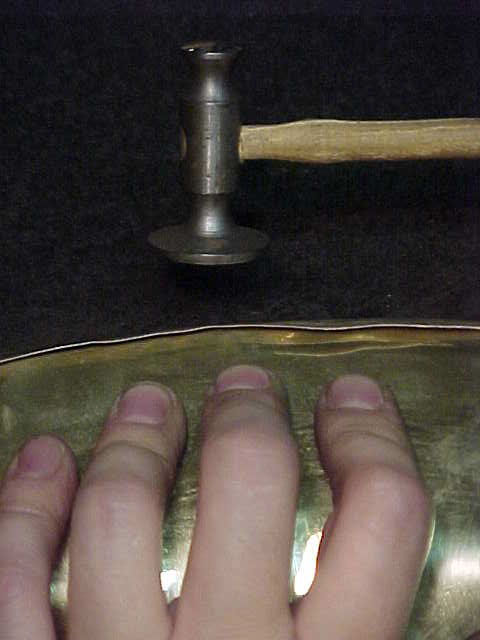
Now and then pressure is applied to keep things snug. With every tap the wreath pulls the bell closer towards the proper shape.
With the final pass around the rim, the bell becomes totally firm and takes on a new resonance as it no longer has any give with the reinforcing wreath in place.
Looks good but we are not quite finished.
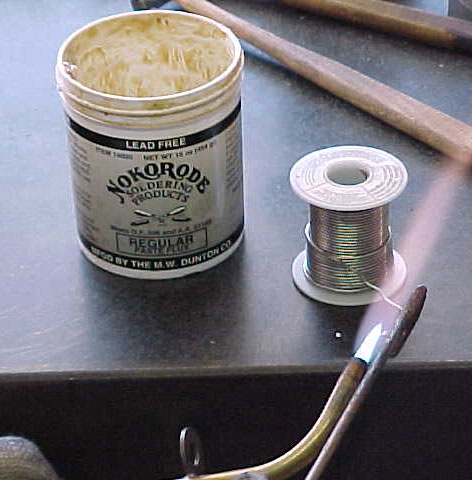
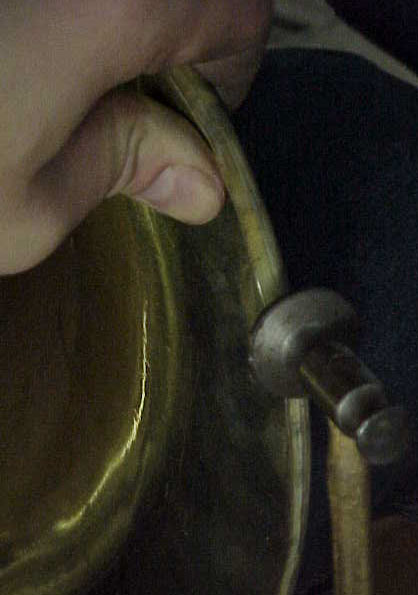
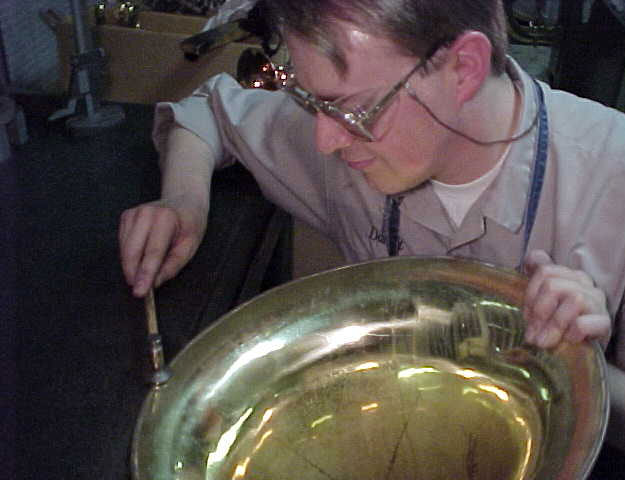
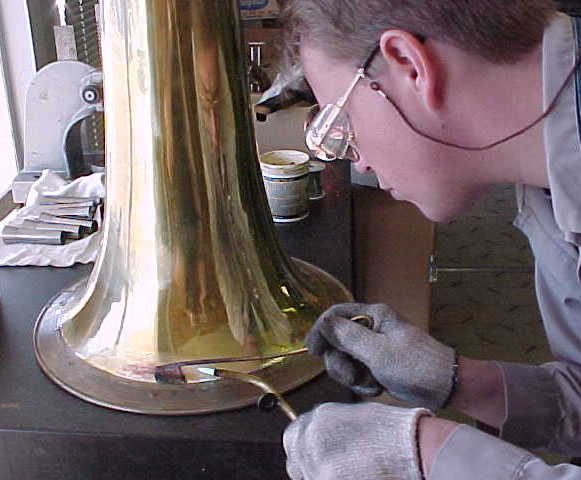
The inside edge of the wreath must be soldered in place.
This is why it had to be cleaned and sanded prior to installation. For
this step we use a paste flux, 70/30 solder, copper solder iron and a gas torch.
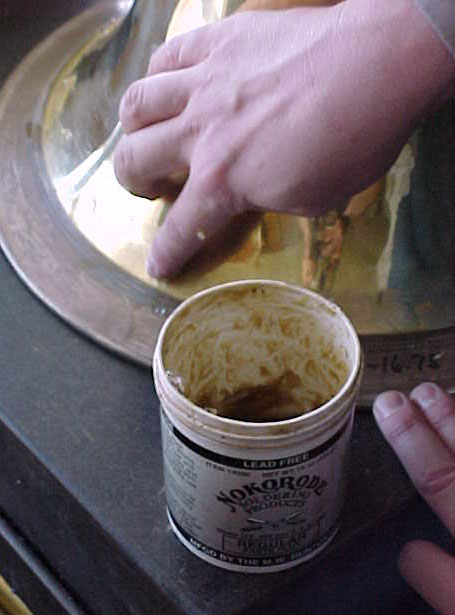
The flux is applied by hand. Don't worry it wipes off!
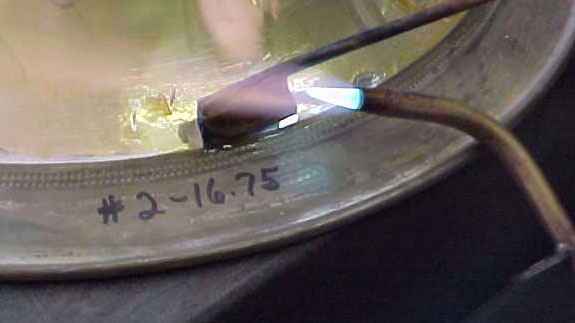
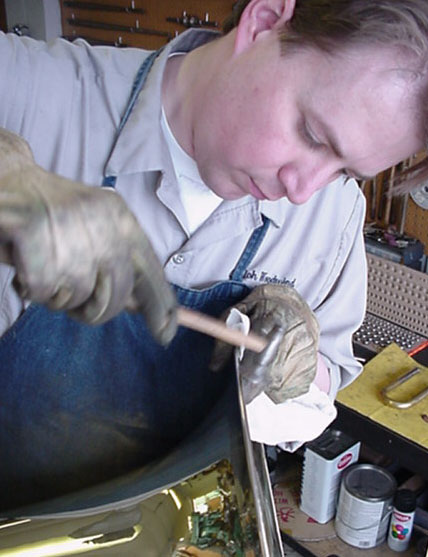
The copper iron is fanned with the flame as the solder
is drawn along the inside edge. The flame is also fanned on the wreath
to preheat it.
This approach is used because if the torch is applied directly
on the thin sheet brass it will expand and warp the bell, ruining all the
work that has been done so far.
After final polishing, the rim is adjusted with a few persuading taps and we will call it done.
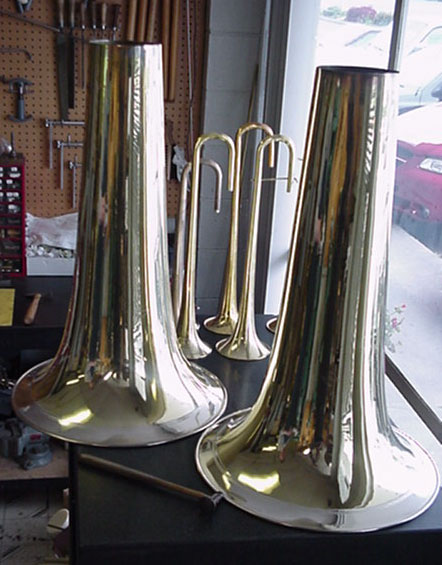
It is a lot of work and we have only so far done the bells.
It now starts to get simpler but that's just my opinion.
HOME | SALES | GALLERY | EMAIL