(Straighten, Parallel and Level)
Part 2
Cleaning and Dent Removal
After we dismantle the horn and before we do any dent
work, the parts must be cleaned. The flex-honing process makes
sure that any roughness from materials such as lime, scale or general corrosion
is removed. This also allows us to avoid embedding any internal tube debris
into the soft brass during the dent removal process. This debris
can cause obvious problems with the slide action. Not a good thing...
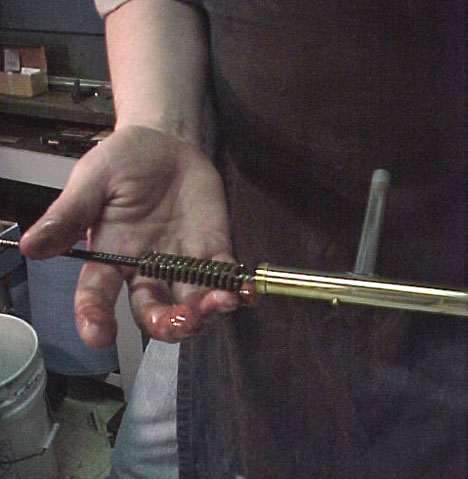
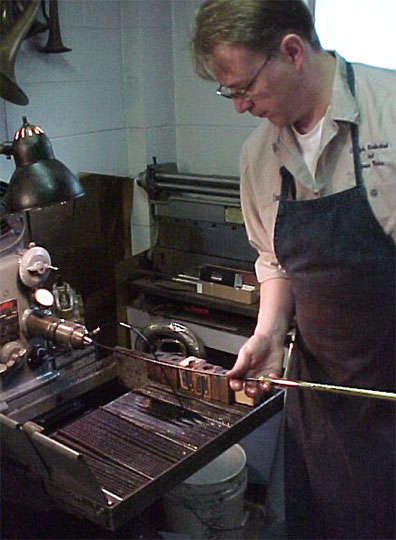
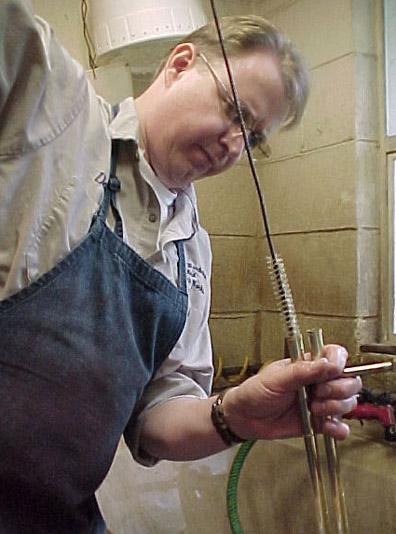
An upclose view of the Flex Hone. The flex hone
cleans and polishes the inside of the tube.

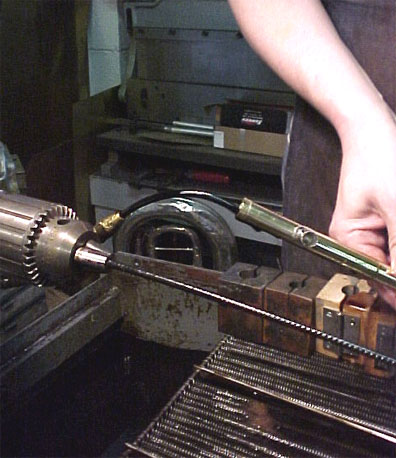
The honing machine floods the tube with a special oil
formulated for the honing procedure. This machine filters the oil and recirculates
it back to the work being processed.
There we go again using fancy tools but hey, this makes
the work get done faster and better! In other words,
I get better pay for straight forward, trouble free work and the customer
gets better work and done faster at a reasonable cost.
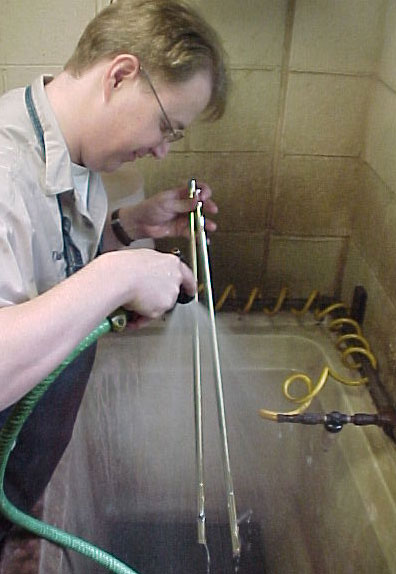
Now that we are finished with the flex-hone, all of the
honing oil must be cleaned from the tubes, inside and out.
Brushing the tube interiors and washing with hot water
and dish soap gets the oils out in a hurry.
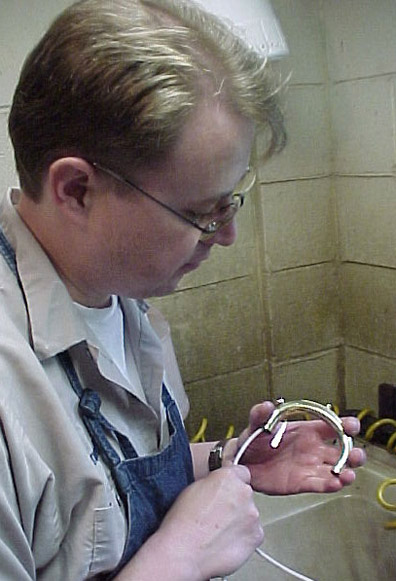
We are going to be removing the dents from the crook so
now is a good time to clean it out as well.
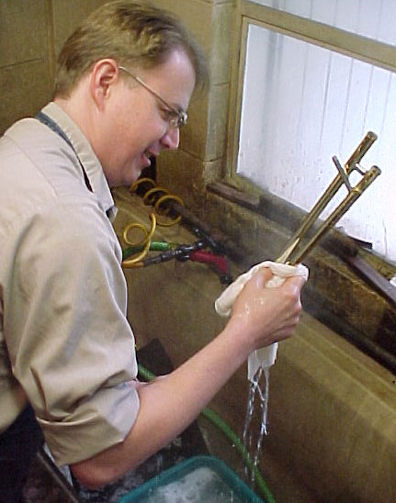
Hot water with Dawn detergent works great for cleaning
the oils from the tubes. A good friend once told me that my job at times
is more doing the dishes than repairing band instruments. I wonder what
gave him that impression?
Having cleaned the tubes, it is standard procedure to
swab the inside of the tubes. I use soft flannel on a nickel plated steel
rod, not an aluminum rod. The back and forth motion on the snugly fitting
swab creates friction which raises the temperature of the tube, helping
melt and draw out any grease or grime that might be embedded in the pores
of the brass. The tube gets pretty hot! The flannel absorbs this
contaminants, making the metal that much cleaner prior to the dent work.
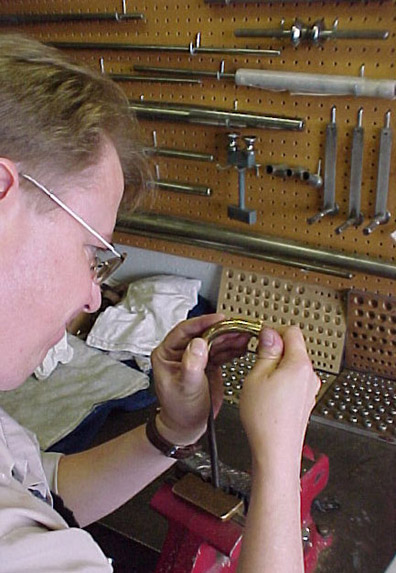
The crook on the slide is another area that is responsible
for hangups. This part gets the lion's share of dents and because so, it
distorts. This distortion telegraphs down the slide tubes causing
them to warp. When performing an SPL, this shop always addresses the dents
in the crook, no excuses and without exception.
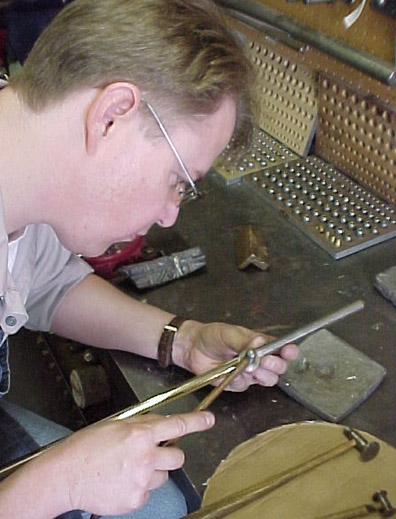
When performing dent work, selecting the correct tool
for the job is imperative.
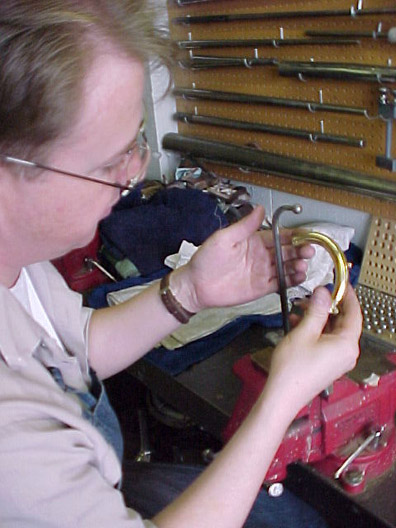
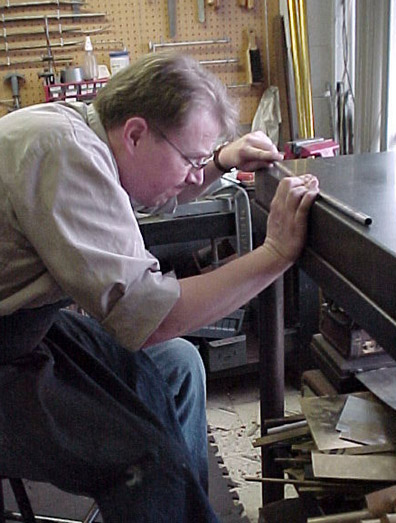
Using the properly shaped rod and ball, the crook is
slipped over the tool. By passing the crook over the ball while appying
pressure against the impacted area, the dent can be slowly raised.
Because dents in the crook do effect the alignment of
the handslide tubes, you must take care of all of the details
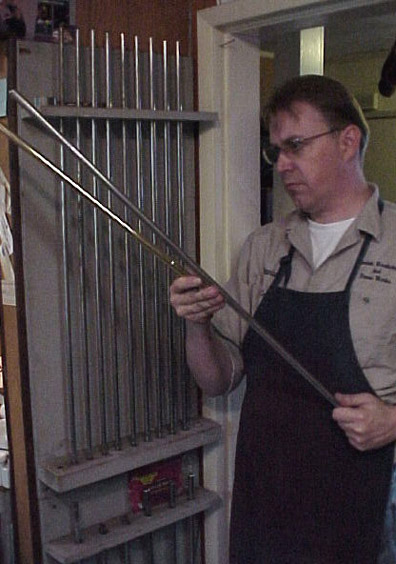
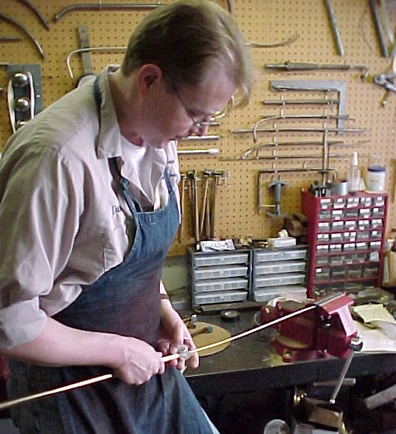
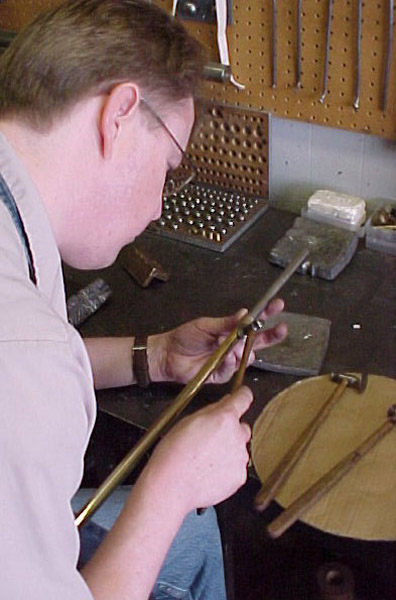
Our slide tubes now being nice and clean, the proper mandrel must be selected, seeking the tightest fit possible. The tube must be burnished straight! Making the slide tubes straight is the part of the job that calls upon skill and knowledge acquired over time, that's what the customer values in the Repair Technician.
Here is Dan selecting the proper fitting rod for the slide tube. These mandrels must be kept straight, we do not use our trombone slide rods for any other applications than this. If a mandrel gets bent, it cannot, no matter hard you may try, help you make a slide tube straight!
Trombone Slide Mandrels, Ferree's Tools Part no. N53
Removing the dents in an outside slide tube does not take
a lot of time, provided you know what you are doing. Overworking the tube
with the wrong hammer and/or too much hammering can set you back, possibly
ruining the tube you were suppose to be repairing.
It really does pay to be patient and deal with the dents
one at a time, don't be in a big hurry. Before you know it you are done
with this step and ready to move onto the next.
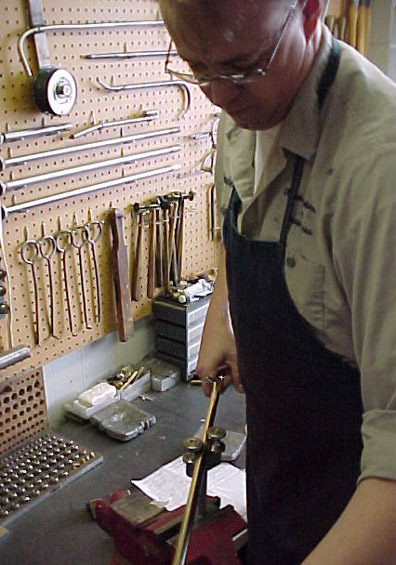
The tube, with mandrel inside, is rolled on the Trombone Slide Dent Roller. This tool is used in our shop primarily to soften and smooth areas that have had dents removed. It is also used to reround the tube during the straightening and leveling process. This is a good, no, this is a great tool but if used incorrectly can ruin the part beyond salvage.
Trombone Slide Dent Roller, Ferree's Tools Part no.
N87
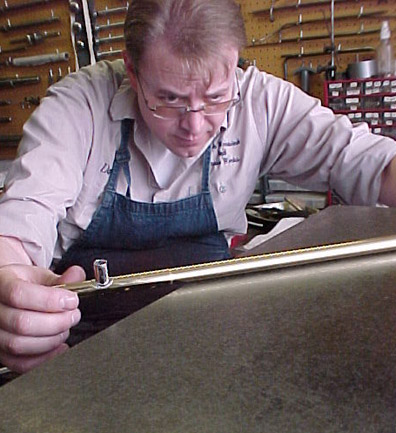
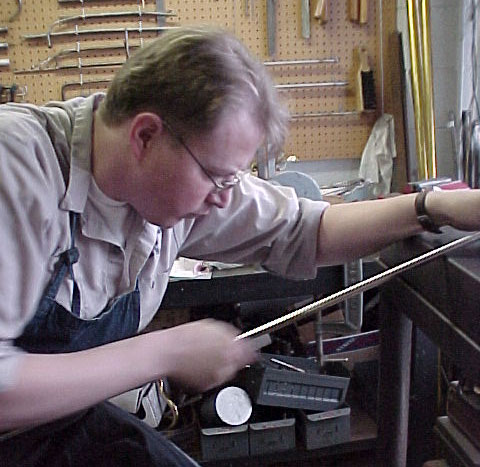
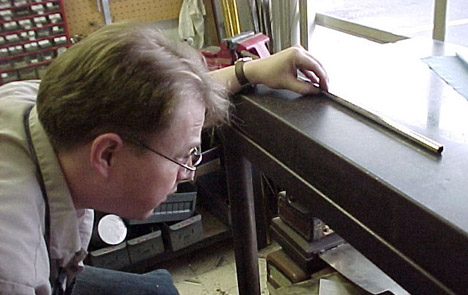
Seen here, Dan is checking the tubes on a level surface
and making sure it is as close as you can get it. Be patient this takes
time but it is very doable. Using the large leveling stone, Dan looks
to see if the tube is truly straight. By laying the tube on the stone,
he looks between the stone and the tube for gaps where light shines through.
This give him cues and helps him decide the next approach.
Using a ring burnisher, Dan works the metal while on a correct sized mandrel to properly manipulate and eventually straighten the tube.
Ring Burnisher, Ferree's Tools Part No. N12
Again checking the tube on the leveling stone, this is
where the large windows are really nice, letting in the sunlight. Unless
it is raining, after all this is Seattle.
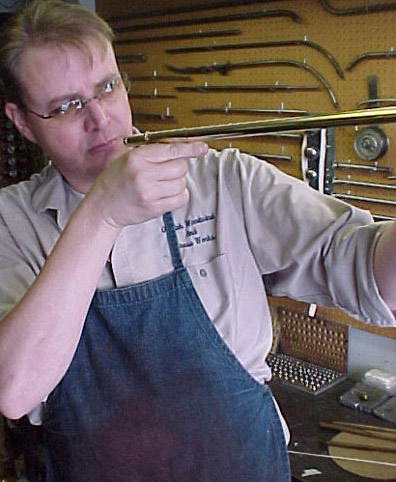
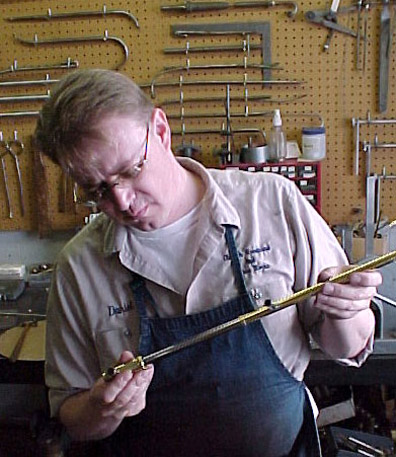
Here Dan uses the sunlight to check the straightness of
the tube. As the light reflects down the tube, any variances in the
line of the light show the defects in the surface of the metal. Once again
this aids in decisions as to the next approach to achieve the best final
results.
Having a large leveling stone helps a great deal when
manually bending a slide tube. Unless you are experienced, I would advise
you not to try this yourself or you may find you have really messed things
up.
Again, this is that part of the job that requires a lot
of knowledge and ability. You can't just go through this web page, read
about it and instantly be able to perform the task. The process is easy
to understand but doing the job is a little more tricky.
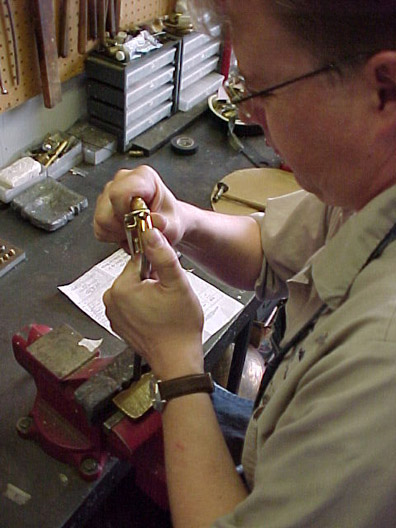
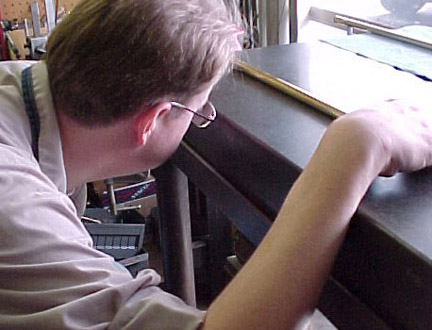
Dan is seen above checking the inner and outer slide tubes. Before assembling the parts, it is a good idea to take the time to inspect the slide tubes and how they interact respectively. You never know what you will find.
If it don't work too good here, ya gots problems...
Part 1 - Evaluation and Preparation for Repair
Part 3 - Assembly and Soldering