(Straighten, Parallel and Level)
The idea for constructing this series of pages on the technique and approach for slide action repair evolved steadily over the past several years. Many of our out of state clients that have never been to our shop have expressed great interest in just how we go about repairing their slides. Or what Daniel Oberloh refers to when he says, "Trombone spell," or "Spelling a slide."
The following pages are not only intended for interested trombone players but hopefully are found beneficial by repair technicians. Technicians such as myself who are always looking for sources in adding to, improving and updating their existing skills. I hope you find enjoyable what we have put together.
Part 1
Evaluation and Preparation for Repair
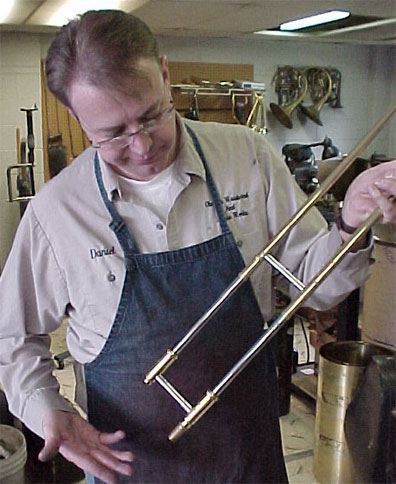
Here is a trombone slide that didn't work very well, a
typical problem we see all the time. This particular slide was from
a Yamaha YSL-456G.
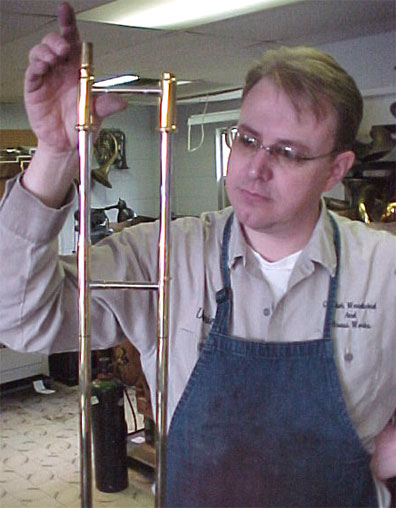
Look, you can defy gravity. This is the special
conductor's model, the slide stays in one place so your hand is freed up
to cut off the band. Actually, it is a slide with a number of problems.
The first step to restoring slide action is determining what those problems
are.

I will almost always start out by placing the slide assembly
on our handslide leveling stone. This is our slide leveling stone, made
by Ferree's Tools of Battle Creek, Michigan. The steel rails (A)
seen on the stone running across the width are ground very level and have
pins (B) that are fixed to the rails. The six brass sets (C) are
magnetic and are used to hold in place and/or manipulate the tubes as needed.
Slide Leveling Stone, Ferree's tools, item #P90
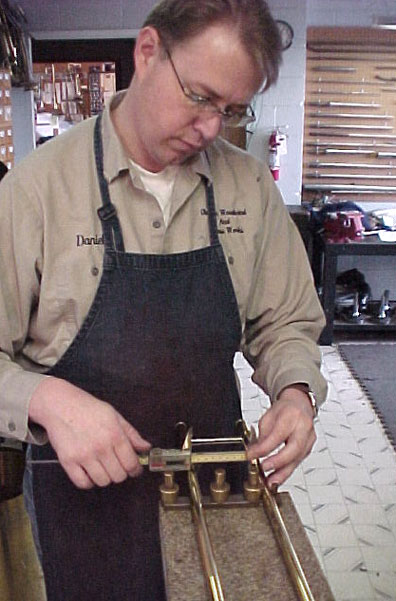
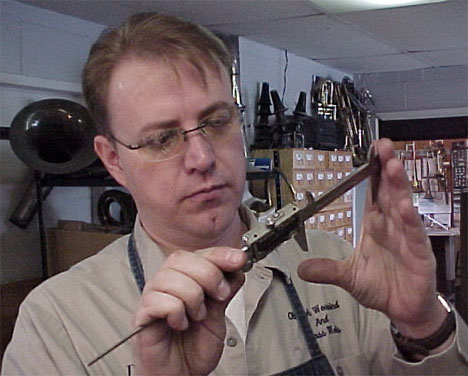
When measuring the slide, I always measure from the "fixed
side" (the side with the pins seen to the right.) I use a high quality
digital caliper trying to get measurements to .001 inches.
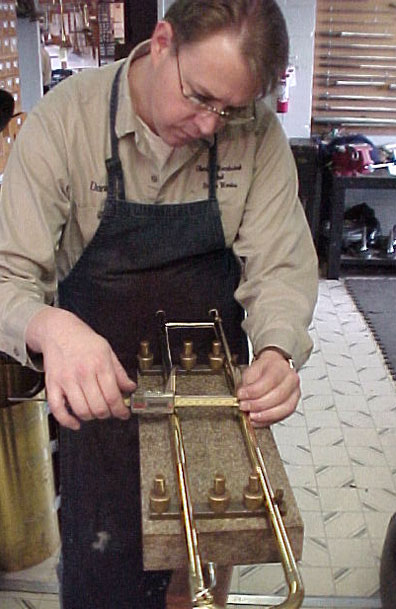
I typically measure at the crook end, then the opposite
end, about four inches down from the cross brace, and finally in the middle.
Note: Many outside slides have a wider girth or secondary sleeve
around the actual slide tube up near the hand brace, for example, most
Bach Stradivarius standard weight slides. The cross measurements
at this point should be made as close to but not on these wider areas.
These wider areas will give you a false reading.
This slide was measured and with the following results:
Crook end: .000"
Brace end: +.012"
Middle: -.008"
The slide was narrower at the crook end than it was at
the brace and even more so in the middle, sort of an hour glass shape.
Plenty of reasons for this slide to function as poorly at it does. Those
were not the only problems found.
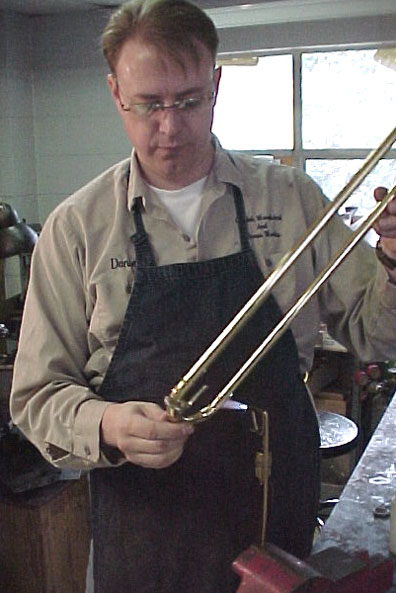
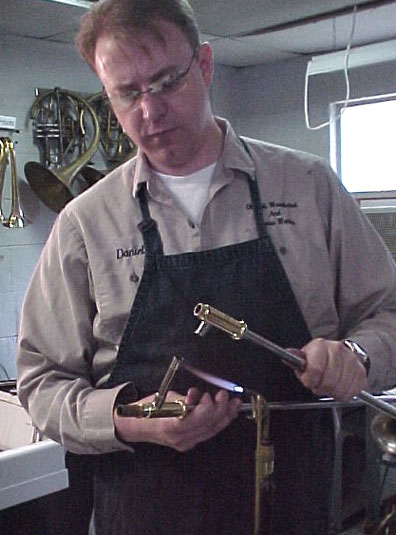
The only way to straighten the slide correctly and with
lasting results, you have to take the slide apart...
...not just a little bit apart...
...all the way apart!
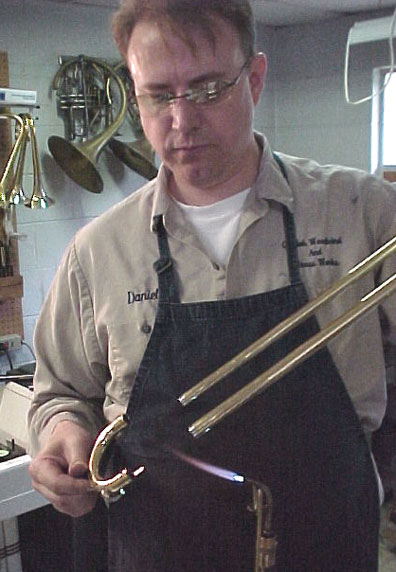
Since we will be realigning the outer tubes, we will need
to realign the inner slide as well to match the outer slide's alignment.
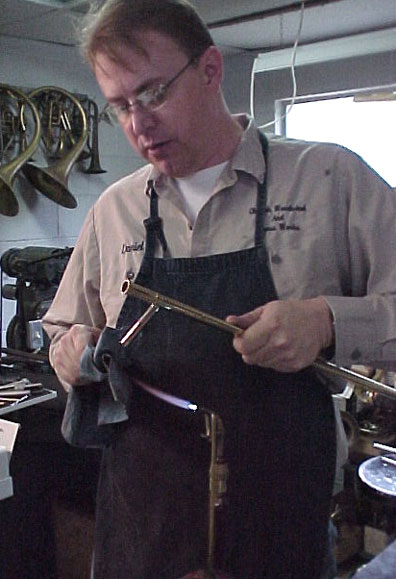
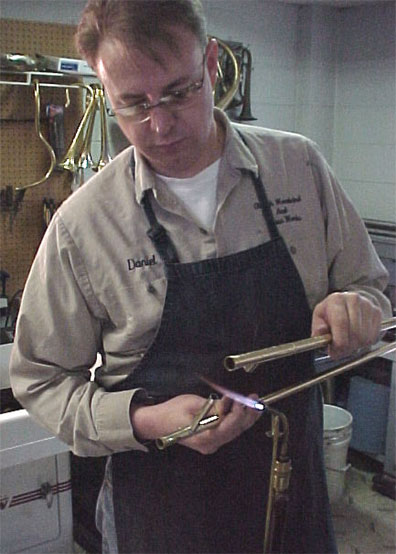
Clean all the old solder off while you're in the neighborhood.
If you leave it behind or try to "reuse" it, your connections may or may
not have problems, why take a chance! Cleaning your joints makes
the work easier and smoother when it's time to reassemble.
Part 2 - Cleaning and Dent Removal
Part 3 - Assembly and Soldering