(Straighten, Parallel and Level)
Part 5
Polishing, Lacquering and Completion
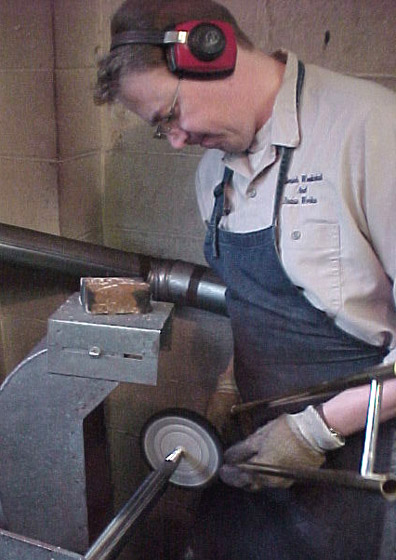
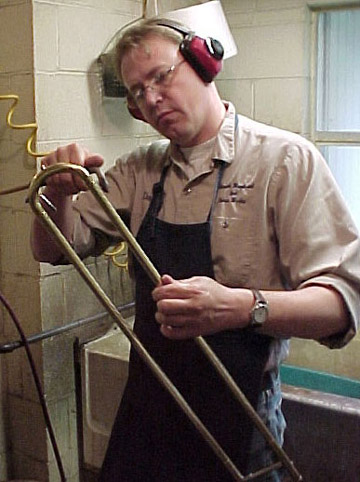
Having completed the assembly and solder work, the joints
are "spot" polished and buffed. The first step in polishing employs a process
that cleans away the remaining solder film and leaves a nicely polished
brass finish.
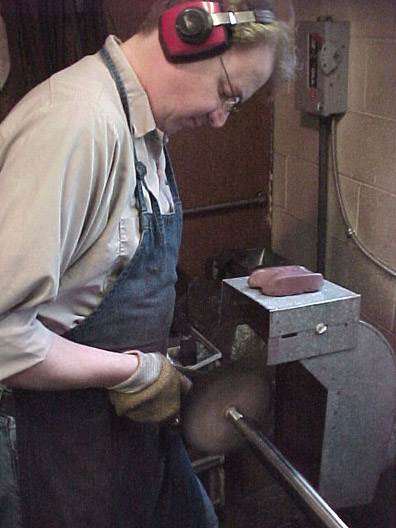
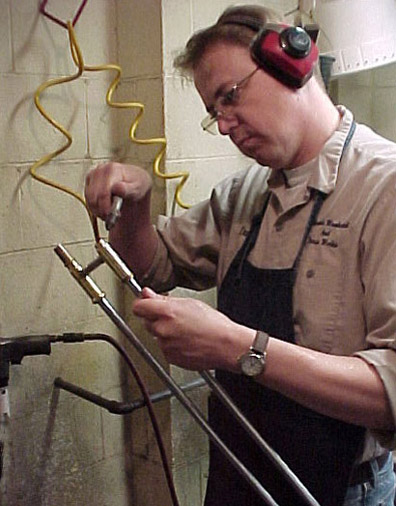
Color buffing brightens the polished areas leaving a lustrous
mirror finish. A lot nicer than ugly burn marks and sloppy, unsightly solder
splotches. Doing neat and clean solder work makes this part of the
job relatively easy and quick.
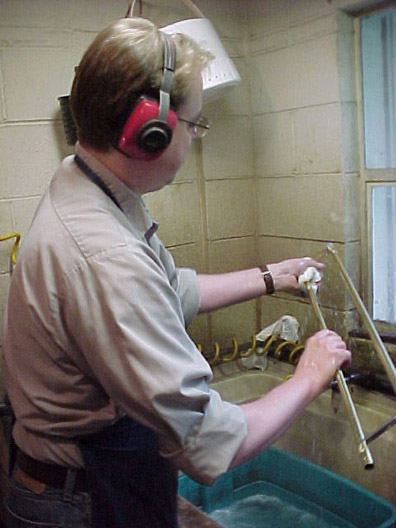
Polishing completed, the areas that are to be sprayed
with lacquer must be cleaned. Degreasing and then cleaning with soap and
water will allow for a bright and clean look once the lacquer is applied.
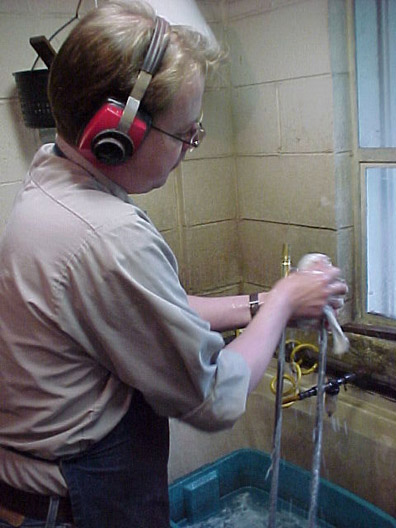
The cleaning process is simple enough but has to be thorough
or the end results will be less then satisfactory. Any dirt or contaminants
will interfere with the bond of the lacquer to the brass, allowing it to
flake off in no time at all, causing the metal to oxidize and discolor.
The parts are properly cleaned and blown dry with
compressed air. This speeds things up and helps avoid water stains.
In the drying process it is a good idea to remove the bumper material from the cork-barrels as they can cause problems by trapping solvents and water during the cleaning process.
During an SPL we will almost always install new bumper
felt in the barrels of the inside slide in addition to new water key corks
and springs.
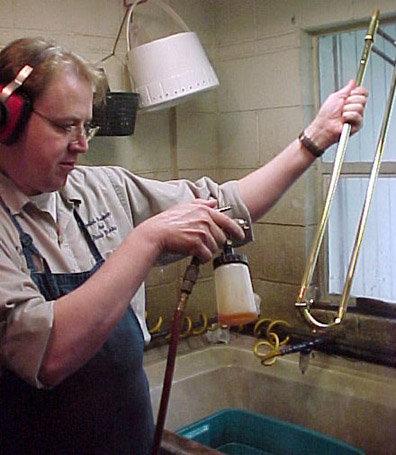
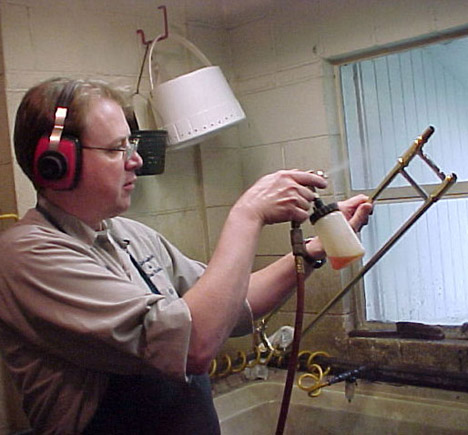
Now that we have our handslide clean and dry, a nice coat
of lacquer is applied to protect the exposed brass and give a bit of brightness
to the existing original lacquer.
Application of lacquer to the cross brace of the inside
assembly should be performed with the outside assembly in place or at the
very least rolling a sheet of paper around the inside tubing . This will
prevent lacquer overspray from adhearing to the inside tubes which might
interfere with the slide action. Better safe than sorry.
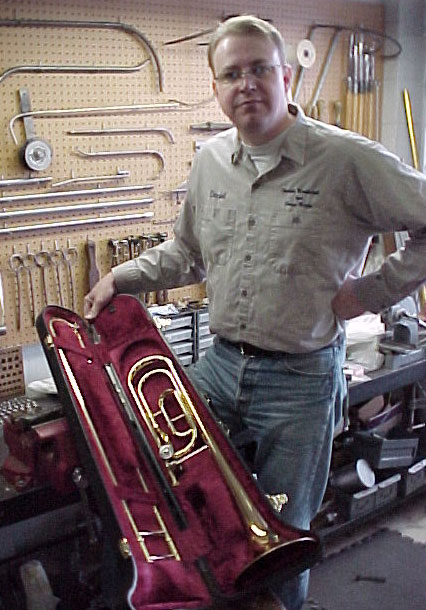
The completed product!
After taking the better part of the day, the slide was
completed. The following day I found time to make the needed repairs to
the F rotor valve (serious port damage and bent casing), perform dent work
on the bell and additional solder repairs. All told, the final bill for
a nice looking and playing horn was about $300. A bargain considering what
the local car mechanic gets for simply swapping parts and changing oil.
The process of restoring a trombone's slide action is not as difficult as some may say or think. It does however, like any craft, require knowledge, skill and the right tools for the job. The first slide I repaired took me a week to get right and even to this day I feel a little guilty as I know it would not even come close to the standards I now hold myself. But those standards are the equivalent of more than twenty years and who knows how many thousands of slides later.
We hope you found this series of webpages interesting
if not educational. If you have any questions or comments, please
feel free to contact Dan Oberloh at Oberloh Woodwind and Brass Works.
Part 1 - Evaluation and Preparation for Repair
Part 2 - Cleaning and Dent Removal